Back-to-School Fun with Cricut: Crafting a Custom Gamer-themed Outfit
This upcoming school season marks a return to in-person learning after a year of remote education. It’s a time filled with excitement as children anticipate reconnecting with friends and diving back into classroom activities. Amidst this back-to-school buzz, creating personalized outfits adds a touch of creativity and fun. If your child is a fan of video games, why not craft a custom “Game Over, Back to School” t-shirt using the versatile Cricut Maker 3?
Introduction to the Project
The Cricut Maker 3 has revolutionized crafting with its precision cutting and ease of use. Whether you’re new to crafting or a seasoned DIY enthusiast, this project is designed to be both straightforward and enjoyable.
Materials You’ll Need
Before diving into the steps, gather the following materials:
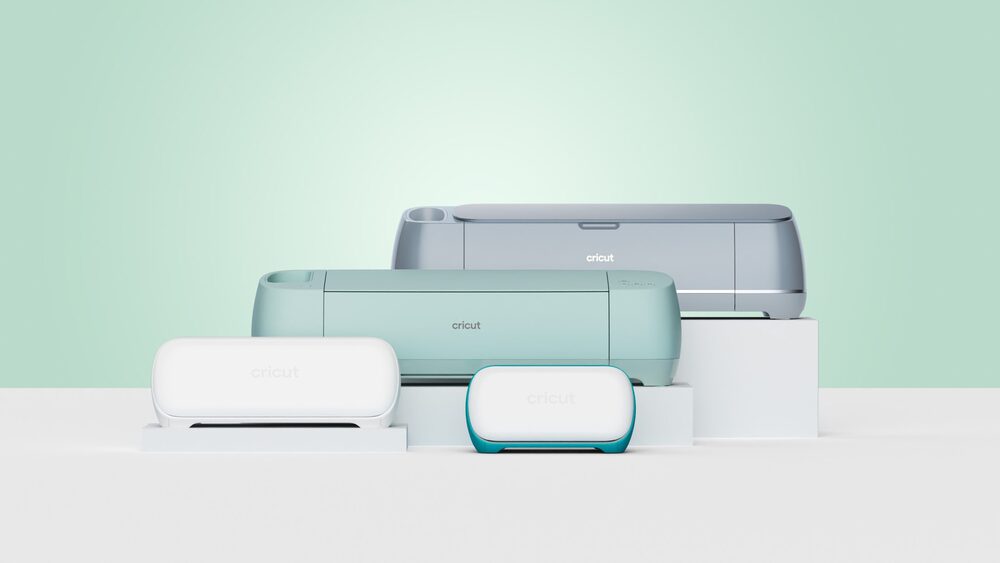
- Cricut Maker 3
- Iron-on material (Smart Iron-On recommended)
- Weeding tools
- Cricut EasyPress
- T-shirt (choose a size and color that complements your design)
Step-by-Step Guide to Crafting Your Custom Tee
Step 1: Design Selection and Preparation Start by creating a new project on Cricut Design Space. Choose or customize a gamer-themed design that resonates with your child’s interests. For our project, we selected the “Game Over Back to School” image from the Cricut image library.
Step 2: Sizing and Cutting Measure your t-shirt to ensure the design fits well on the front or back. Adjust the size accordingly using Cricut Design Space. Remember to mirror the image before cutting, especially crucial for iron-on projects.
Step 3: Cutting Process Load the iron-on material into your Cricut Maker 3, ensuring the shiny side is facing down. Follow the on-screen instructions to initiate the cutting process. The Cricut Maker 3’s efficiency ensures precise cuts in no time.
Step 4: Weeding the Design Carefully weed out the excess iron-on material using a weeding tool. This step is essential for ensuring your design appears clean and polished on the t-shirt.
Step 5: Preparing the EasyPress Preheat your Cricut EasyPress according to the recommended temperature settings based on your shirt and iron-on material. Preheating helps ensure proper adhesion of the design.
Step 6: Applying the Design Position your t-shirt on the EasyPress mat and preheat it to remove any moisture or wrinkles. Place your weeded design on the shirt, liner side up, and cover it with a protective sheet. Apply heat using the EasyPress, following the specific time and temperature guidelines.
Step 7: Final Touches After pressing, allow the shirt to cool before peeling off the liner. Admire your handiwork! It’s recommended to wait 24 hours before washing the t-shirt to ensure longevity of the design.
Conclusion
Crafting a custom back-to-school outfit with Cricut is not only a creative endeavor but also a delightful way to personalize your child’s wardrobe. The “Game Over, Back to School” t-shirt is sure to be a hit on the first day of school, combining style with a playful nod to their favorite hobby.
Article Refer By: Cricut heart greeting card design USA And Cricut heart greeting card design USA
One Response
Well done!searc h
Comments are closed.